How to Create an Easy DIY Shelf for Your Smart Home Camera
Creative tips on how to incorporate your Smart Home Camera into your home's decor from CASSMAKESHOME's Cass.
by Cass on 12/01/2020 in Home & Design
5 min read
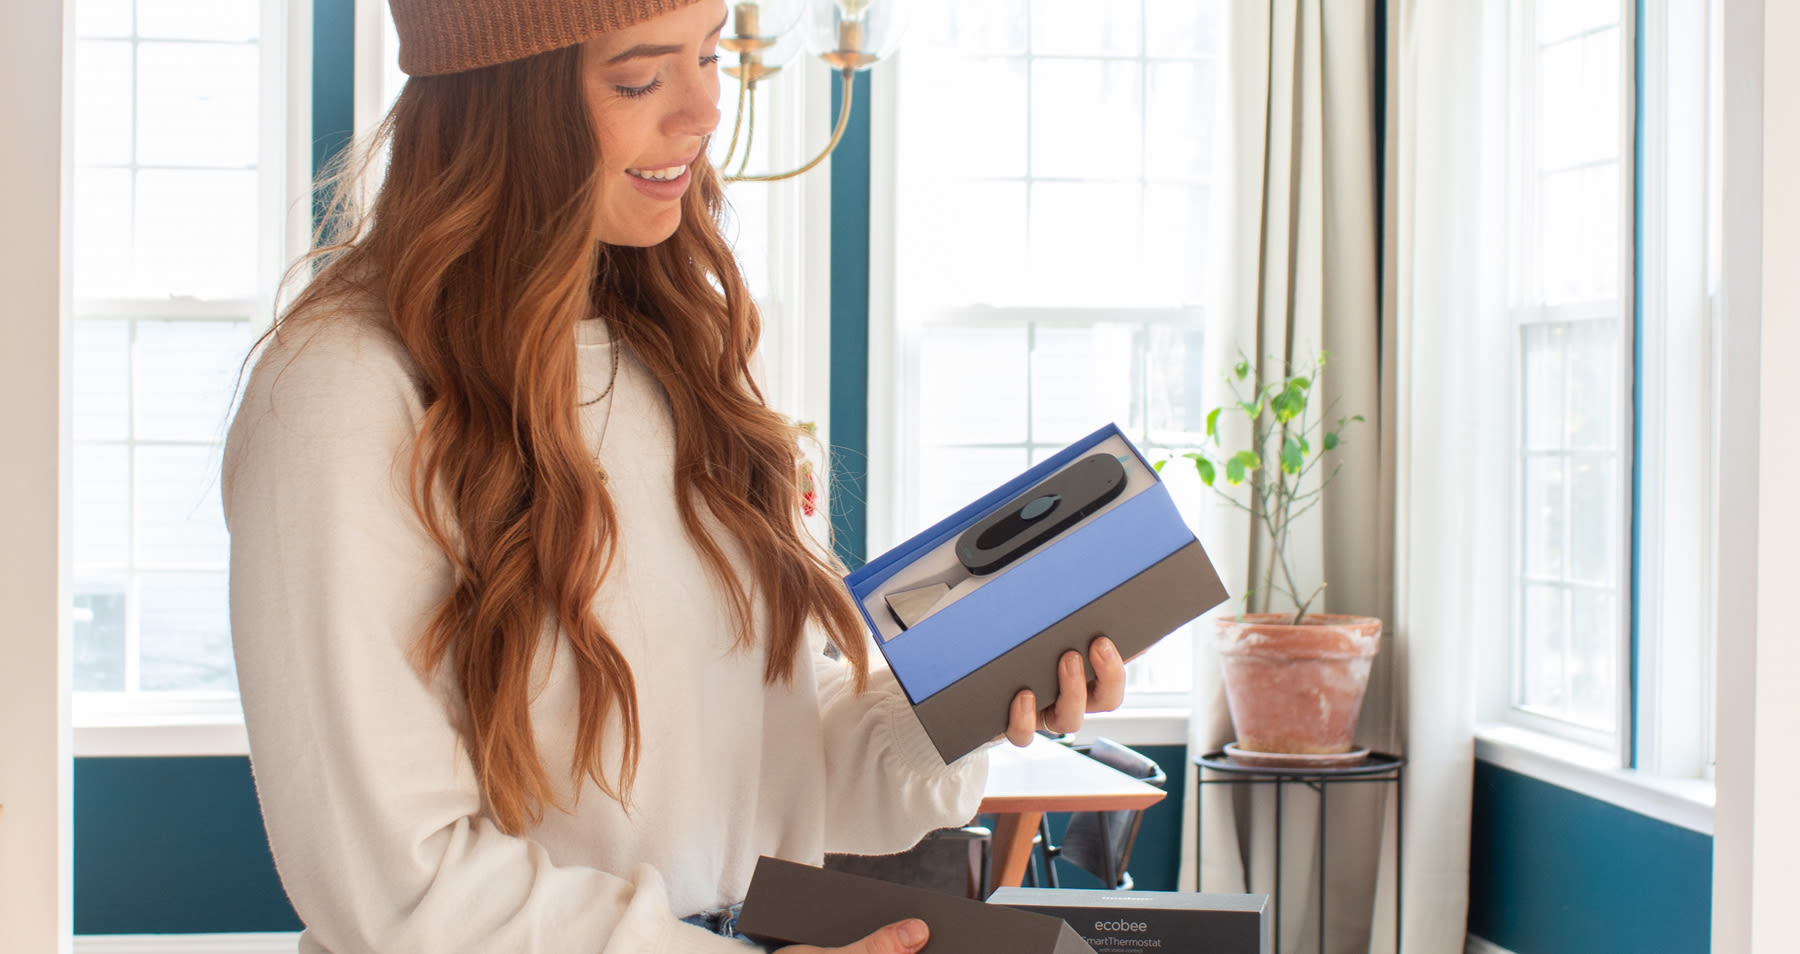
As a fearless DIYer with a passion for making my home with my own two hands, I love learning how to create and build things on my own. I believe that making a home takes time and focus, and I love to share my home making journey and encouraging others to be fearless in doing-it-yourself too. I’m a busy, working mom that is always tackling a DIY project around my home, so sometimes I need help in monitoring what is going on around the house while I am head-first in a project. Having a smart home has made it so much easier to do that.
Smart home products are beginning to make their way into everyone’s homes. They are amazing to use for the simple convenience of being able to manage your home through your smart phone. They are also great to have for peace of mind.
When searching for a home for my new SmartCamera, I kept looking for ideas that seemed more intentional than just mounting it to a wall or ceiling.
I have been especially interested in stepping up my home security game by setting up my new Smart Camera that I got from ecobee. It has so many great features I couldn’t wait to try out, like the ability to check in from my smart phone at any time. I can even pan and tilt the camera view from the app to get a better view of what my girls are up to while I am working from home. It also offers voice control which is such a helpful feature for a busy mom like me.
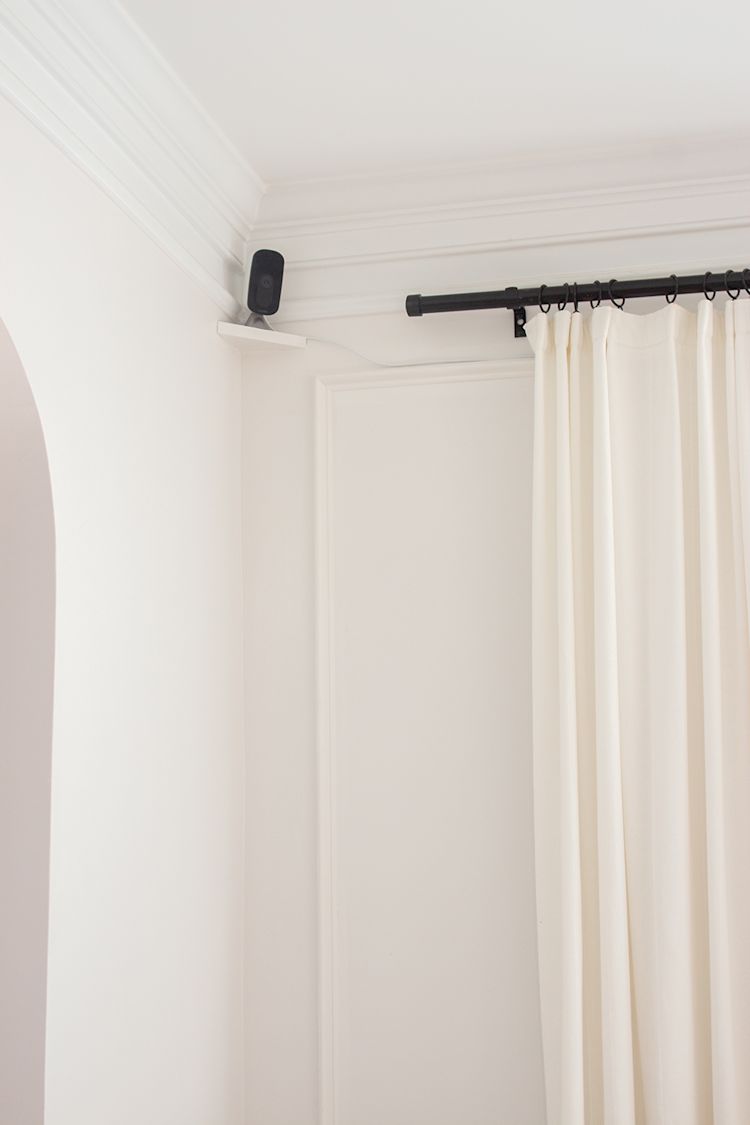
When searching for a home for my new Smart Camera to live, I kept looking for ideas that seemed more intentional rather than just mounting the camera to a wall or ceiling. I came up with a simple idea to create a small shelf for the camera to sit on in the corner of my main living area. I was hoping to make the camera blend in a bit more by doing this.
Here is how I made it:
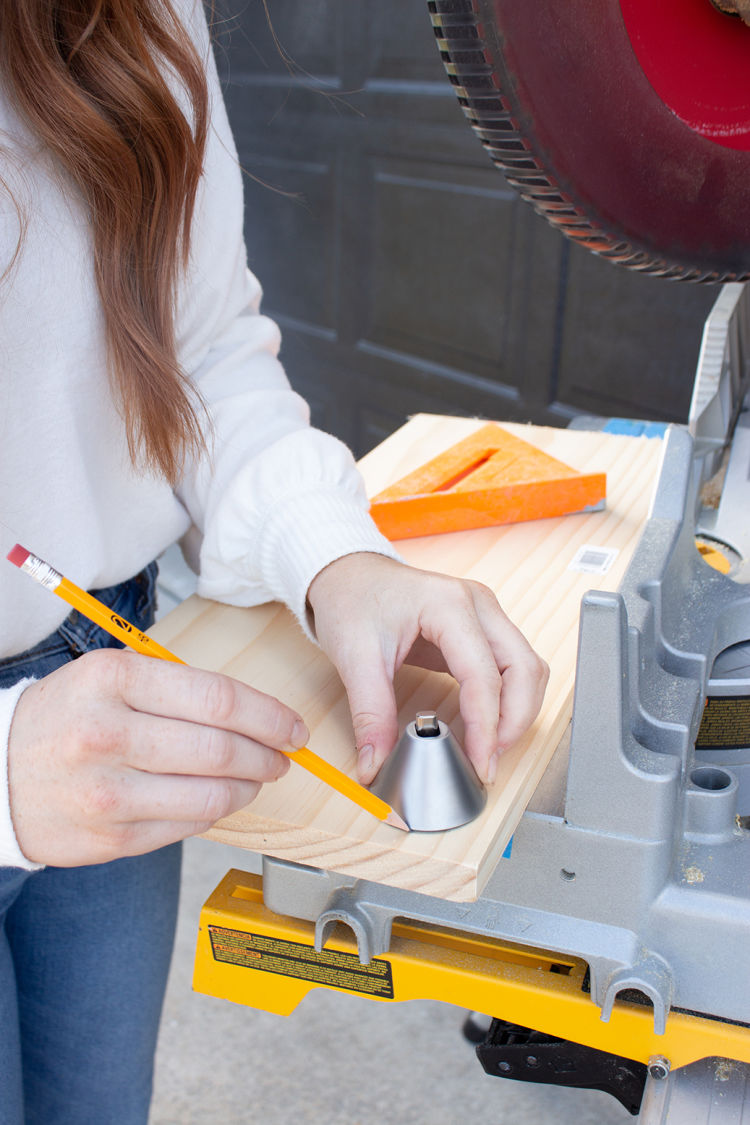
Step One: Sizing
I began with a scrap piece of wood leftover in my garage from a previous DIY project. The wood that I am using is called Select Pine. It is sold at Lowe’s and Home Depot in multiple lengths and is super smooth (ideal for a project like this). I wanted to create a small shelf that would sit inside the corner of my living room walls. To decide on the size of the shelf, I placed the base of the new smart camera on the corner of my piece of wood. I then traced around it with a pencil to help me decide what size the shelf needed to be.
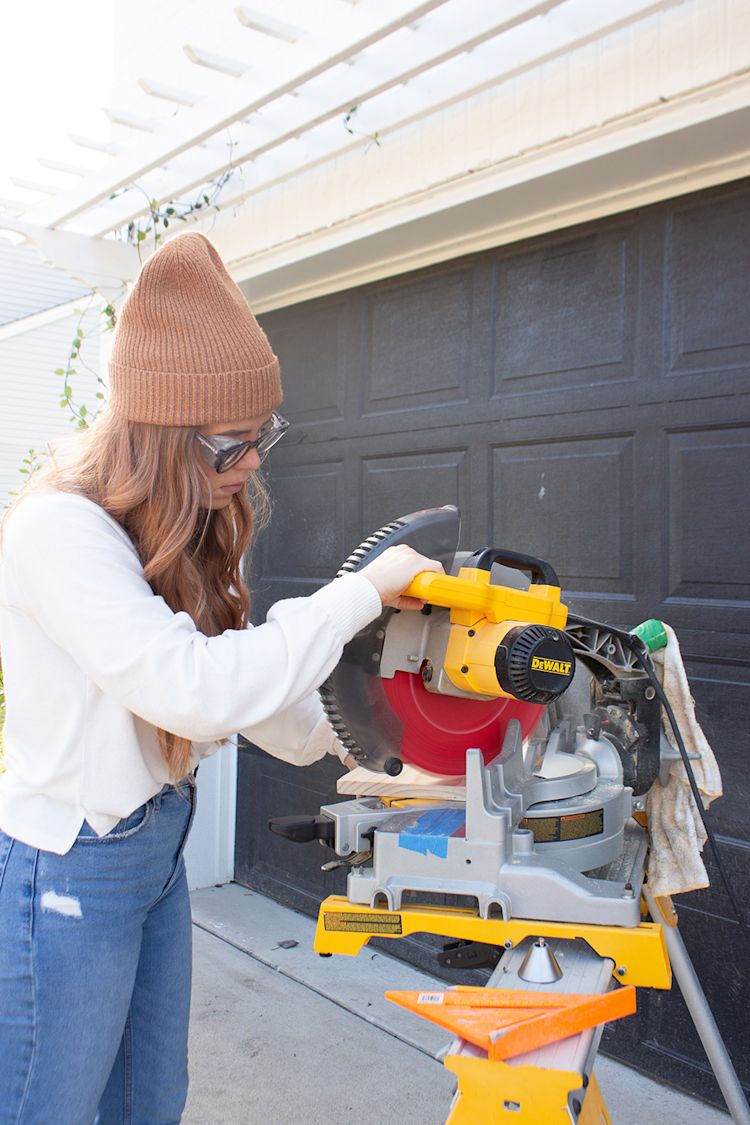
Step Two: Cutting
After removing the camera base, I was able to mark a straight line across the wood where I would cut. I did this with my quick square, about half an inch away from the circle that I traced. This gave me a perfect cut line.
I then brought my piece of wood over to my miter saw to prepare for cutting. I adjusted the miter saw to 45 degrees and lined up the blade with my cut line on the wood and cut through. My little shelf was now ready for paint.
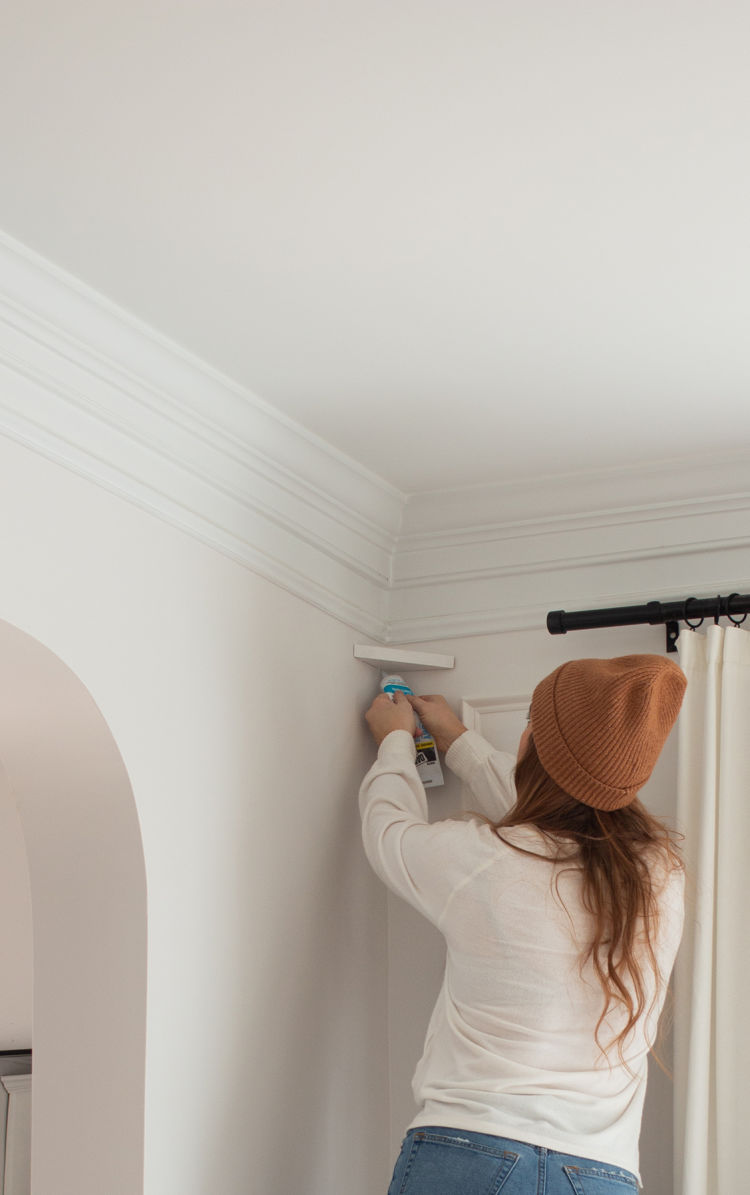
Step Three: Painting and Securing
I painted my shelf with the same paint as my walls (Cameo White by Behr) to help it blend in more intentionally in the room. I gave it two coats and let it dry for a while. I then used some construction adhesive (Loctite Power Grab) along the sides of the shelf and held it in place in the location I wanted for a few minutes (making sure that it was level). I let the adhesive cure for a few hours. Once it was completely cured and sturdy, I went back in with some caulk to fill in the cracks and make it much more seamless.
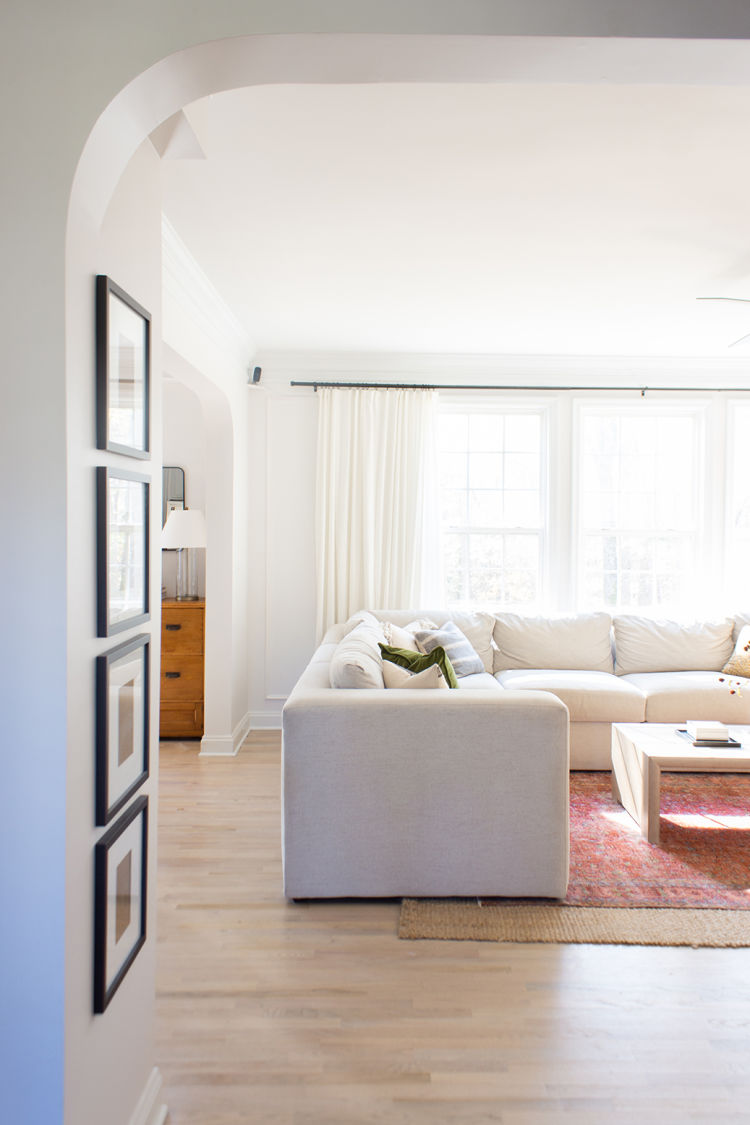
Step Four: Finalizing
After this was done, I then plugged in my Smart Camera and placed it onto my new DIY shelf. I also used some double-sided tape to run the power cord alongside the panel molding next to my shelf. This helped to disguise the power cord a bit better.
I love how this simple little DIY project turned out. It is the perfect spot to get the 180-degree view from the Smart Camera of my entire living room and entryway. And my favorite thing about it is that it looks much more intentional. I also managed to do this project completely for free because I had these items on hand already.
Now that my Smart Camera is all set up, I can have peace of mind. I love that it offers a privacy feature that can turn off the camera when my family is around and can turn back on when the house is empty. Even adjusting and setting up the camera from the app was a breeze. What a win.
-Cass
About Cass

Hi! I’m Cass, from CASSMAKESHOME. I live in a small historic town in coastal Virginia with my husband and our two girls (plus our dog). My husband and I met in high school, and once we got married, we decided to plant roots here in this special town. After purchasing our first home, my husband joined the military. I quickly learned how to take on projects around the house on my own. We are now in our third home together, and over the past two years, have been renovating it room by room.
Did you enjoy this article?
Thanks for letting us know!

